
Adobe Photoshop Overlay Tutorial
Step 1: Open an Image.
First we need to open an image in adobe Photoshop.
Step 2: Open image you want to blend.
Choose image you want to blend with your primary image
Step 3: Cut the source image.
Select and cut the source image or the image you will apply with the primary image (Ctrl A, Ctrl X) and paste it in the primary image (Ctrl V).Step 4: Duplicate the primary image.
The Background layer contains our original image information which is something we never want to touch in case we need to go back on it later, so we need to duplicate the Background layer. To do so, use the keyboard shortcut Ctrl+J (Win) / Command+J (Mac).

Step 5: Arrange the layers.
We need to put on the source image on the top of the primary image.
Step 6: Blending
Select the source image and go to blending option located at the side of opacity. Click it and you will see the list of blending option and choose overlay.
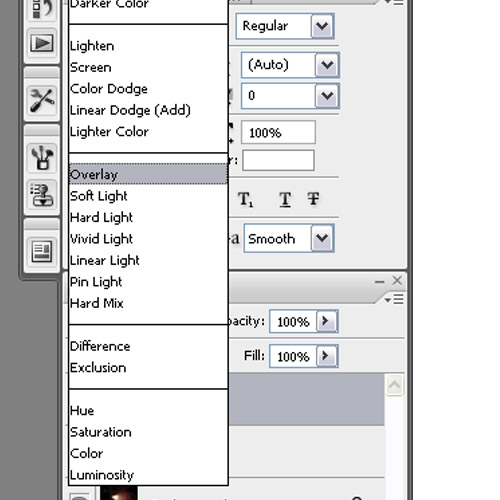
Now you can see the two images blend together.


Comments
Post a Comment